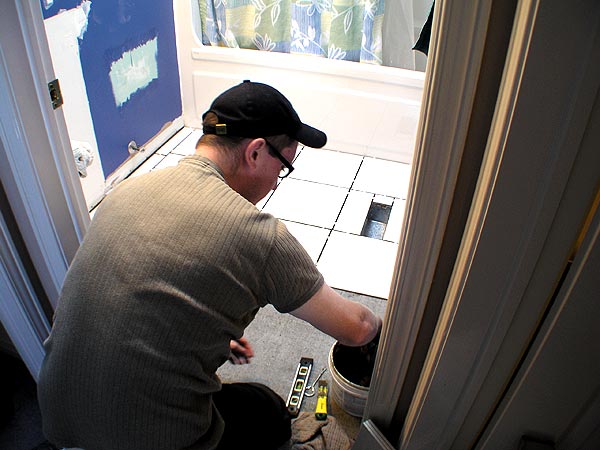
On this day, with the cement board down and fully secured, we start the tiling process.
First we lay down a pattern, make our pre-cuts, and start spreading the tile adhesive, or tile mortar. Once we get to the end, we’ll cut any additional tiles for a perfect fit. One thing I do notice from doing this is that each tile is different, they are not all EXACTLY 13″ x 13″. So you have to adjust accordingly.
Also, walls are NOT perfectly square either – I noticed some of the walls go out by 1/4″ to 1/2″ in some cases. So when you cut your tile, be sure to measure each one, because it becomes a zig-saw puzzle – cutting everything the exact length or measurement each time won’t do.
This process, from beginning to end, took approx. 3.5 hrs. Now we’ll have to let it dry for at least 16 hours, and begin grouting tomorrow.