
I’ve been having a pulsating feeling in the brake pedal for about 1.5 months now. Actually, ever since I got the Impala from Bill Nurse (dealership) back in April 2006, I had a noise coming from the passenger side brake suring regular driving. I even brought it back to them, after 2 weeks of owning it, to take a look – and, of course, the found “nothing”. Complete BS.
So I ended up buying a new set of front rotors and front brake pads off eBay for $90 shipped – not a bad deal, eh? Today I decided to try and change them, I was a bit worried about this because I’ve never done brakes on my own. So I gave myself half a day Saturday (today), and all day Sunday (tomorrow) to work on them, just incase anything happened.
I finished the job in 2 hours.
It was way too easy. I can’t believe dealerships charge $500-$600 to do just the front breaks alone, and over $1000 for all four. This is ridiculous, it can’t be this easy – but it was. Here are the steps:
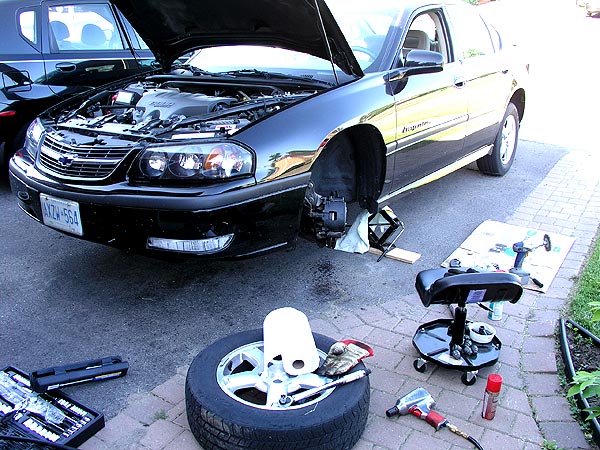
1) First, I hoisted the Impala up, and took off the aluminum rim:

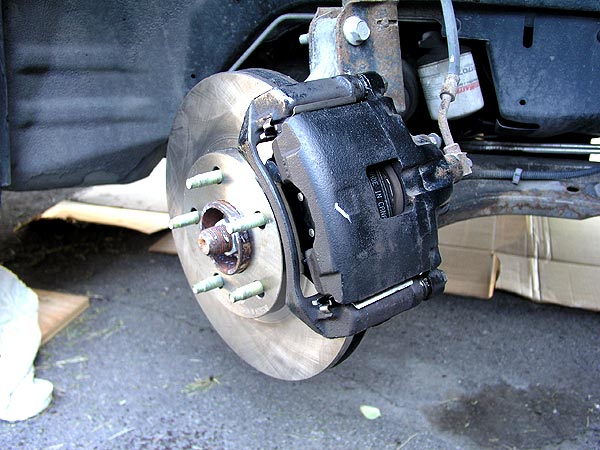
2) Next, I inspected the brake visually to make sure nothing was missing, or no seals were broke. Everything was good:

3) I removed the caliper from the bracket, and pulled the pads. Bingo, there was my problem. The pad I’m pointing to was completely destroyed. It fell apart inside the caliper, and caused my pulsation in the brake pedal. So much for Bill Nurse not finding anything. Like I said, complete BS:

4) Then I removed the caliper bracket:

5) Then I removed the old rotor, and there is the hub assembly. I scraped it with a wire brush to remove some of the surface rust:

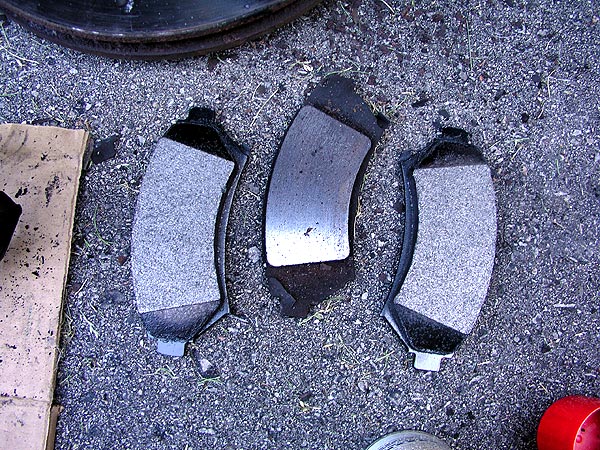
6) Got the new pads ready. You can see the difference between old (middle) and the new (outer):
7) Installed the new rotor on the hub, and mounted the caliper bracket:

8) Installed the new break pads:

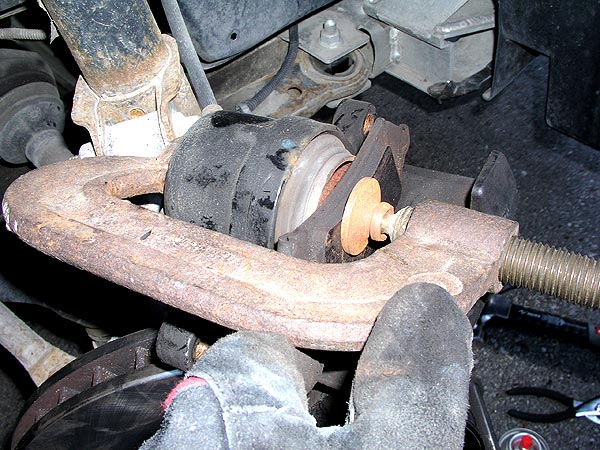
9) Use the standard C-clamp to compress the caliper piston. This allows you to install the caliper. Without compressing the piston, the caliper won’t fit over the new pads:
10) Installed the caliper on the caliper bracket:

11) Put caliper lube on the pins. This is a special lubricant that has a very high temperature rating. It will stay “sticky” to the pins, thus minimizing rust on the pins – which causes caliper seizing:

12) Completed assembly, with all bolts tightened to proper torque settings:
13) On to the driver’s side to do it all over again:
This entire process took me 2 hours – 1 hour for each side. I still can’t get over the ease of doing this. It was so simple. All I have to do now is “bedding the brakes”. Basically this is a procedure for “breaking” in your “brakes” – no pun intended. The procedure involves stopping and driving 5-8 times in a row to cool and reheat the brakes so they will perform better, and last much longer.
I learned a lot from this link here.


